
|
Quantum VS Help: System Administration |
The backup and restore procedure enables the System Administrator to back up all Quantum VS files to, and restore from, a backup device such as an RD1000 removable media device or a tape drive.
To back up or restore Quantum VS, either:
(a) Click the BACKUP shortcut on your desktop:
Note: This icon is placed on the Desktop of the graphical screen in Linux when Quantum VS is installed.
Or:
(b) From the Terminal window, enter the following: #/usr/local/QuantumVSBackup/QuantumVSBackup.sh ¿
The Quantum VS Backup Utility window is displayed:
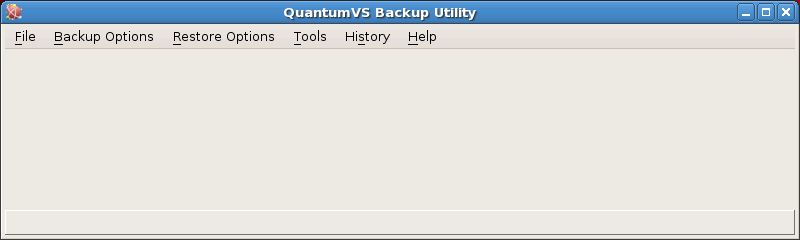
This section covers:
The next stage is to configure the backup device and number of backups. To do this:
1. From the main Quantum VS Backup Utility window menu, select Tools > Options.
The Options window is displayed:
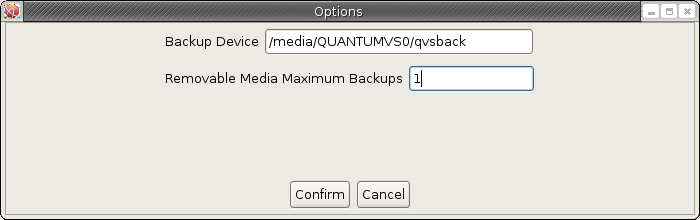
2. In the Backup Device field, enter the backup device to use. Enter:
/media/QUANTUMVS0/qvsback to back up to an RD1000 removable media device; or:
/dev/st0 (etc.) to back up to a tape drive.
3. In the Removable Media Maximum Backups field, enter the number of backups to be held on the backup device (e.g. 5).
Note: A figure of 5 is suggested for a backup cycle of 5 removable media devices. For example: if you have 5 backups per device and 5 backup devices, a maximum of 25 individual backups can be held on the backup media at any time.
4. Click Confirm to close the Options window. You have now configured the backup device and number of backups.
You have the option of formatting any removable media not already formatted.
Note: You may skip this section if your backup device is already formatted.
To format the backup device:
1. Connect/insert the backup device to be formatted.
2. From the main Quantum VS Backup Utility window menu, select Tools > Format Removable Media.
The following warning is displayed:

3. Important: The format procedure will overwrite data on any connected removable media device. Remove/eject any media you do not wish to be formatted.
4. Click Yes in the above window to continue.
5. The following message is displayed: Please eject and re-insert media before starting a backup. Click Yes to continue.
The backup device will now be formatted.
Note: The Cannot mount volume message may be displayed if the media has previously been formatted. Ignore this by selecting OK.
6. The following message displays when the formatting procedure has completed:
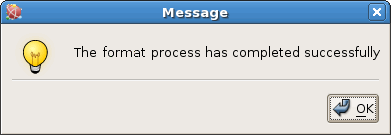
Click OK.
7. Eject the backup device if required.
8. Re-insert/connect the backup device. This should now auto-mount.
You may now perform the backup procedure. To do this:
1. Click the BACKUP shortcut on your desktop, or enter the Quantum VS Backup script from the Terminal window - as described above - to display the Quantum VS Backup Utility window.
2. If you have not already done so, connect/insert the backup device. This will auto-mount if it has been formatted.
Note: If the backup device has not been formatted see Formatting The Backup Device above.
3. From the main Quantum VS Backup Utility window menu, select Backup Options > Full Backup.
A warning is displayed:

Click Yes to continue.
4. The following window is displayed:
To perform the backup immediately: click No.
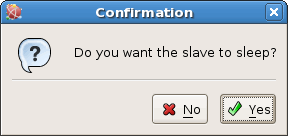
To perform the backup at a selected time: click Yes.
The following window displays:

Enter the 'sleep until' time in 24-hour format (e.g. enter '2200' to begin backing up at 10pm), then click OK.
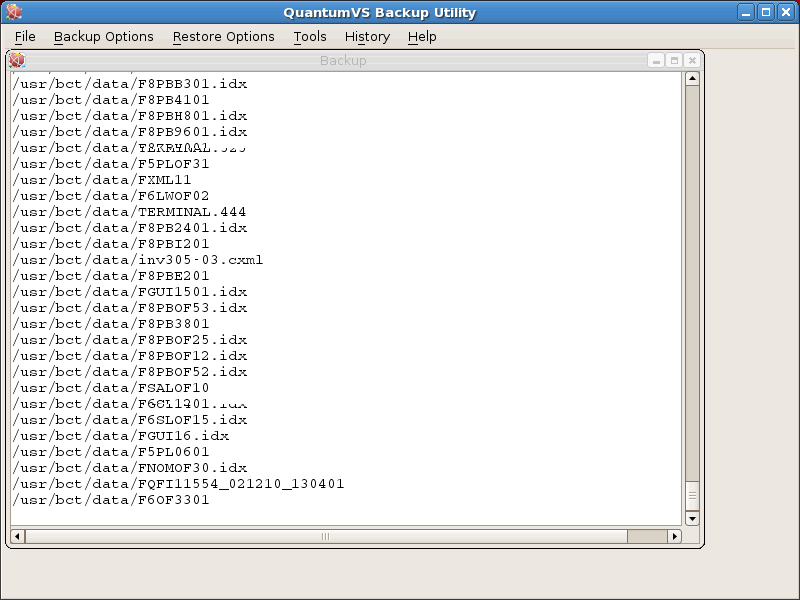
5. The backup procedure begins. The oldest backup on the selected backup device will be overwritten with the new backup.
The files being backed up are displayed:
6. When the backup is complete, the following window is displayed:
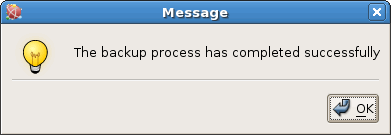
Click OK.
7. Finally, click Yes to the 'Are you sure you wish to exit?' prompt.
8. Eject the backup device if required.
Note: An RD1000 removable media device will be ejected automatically following a backup.
To restore a full backup:
1. Click the BACKUP shortcut on your desktop, or enter the Quantum VS Backup script from the Terminal window - as described above - to display the Quantum VS Backup Utility window.
2. If you have not already done so, connect/insert the backup device. This will auto-mount if it has been formatted.
3. From the main Quantum VS Backup Utility window menu, select Restore Options > Full Restore.
4. A drop-down list will appear, listing all of the backups available on the backup device:
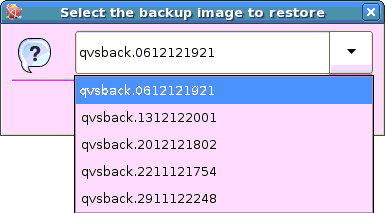
Click to select the backup you wish to restore.
5. When you have selected a backup, click Yes:
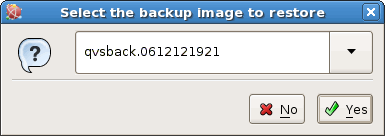
6. When prompted to overwrite the system data, select Yes.
7. The restore procedure begins. The files being restored are displayed:
8. When the restore has completed successfully, the following window is displayed:
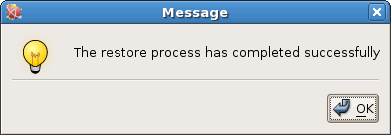
Click OK.
NEXT: File Maintenance