|
Quantum VS Help: Document Scanning |
You may print, save and email archived documents, perhaps to offer as evidence that a customer signed for a delivery.
To print, save or email single archived documents:
1. Use one of the following methods of searching for - and then opening - a document with images archived against it:
Use the Finder to find and open the relevant document and then view documents archived against it. See Retrieving Archived Documents.
Or: Use the Search area of the Scan Documents tab. You may search for a specific document number if you wish. However, it is possible to search all records which have documents archived against them and filter by document date or status (e.g. Not Validated, Valid, Invalid, Deleted, Unexpected Document, Duplicated). You may then open the required document. See Searching For Archived Documents.
2. The document(s) meeting your search criteria display in the Scan Documents tab. For example:

The total number of records retrieved displays at the bottom of the list. Click the arrow links to page through the results.
Use the check box fields to select individual or multiple documents; or:
Or: Click on a document in the list to select an individual document.
3. When you have selected one or more documents, click Print, Save or Email (or Delete) as required.
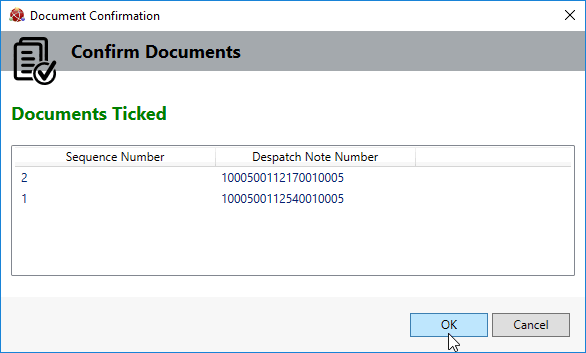
4. If you selected multiple documents, the Document Confirmation window displays the documents selected. Click OK to close it:

5. Do the following with the selected documents as appropriate:
To print documents: in the Print dialogue window, select a printer and click Print.
To save documents: in the Save dialogue window, select a folder, enter a filename and click Save - to save the documents to the selected folder.
To email documents: in the Email Confirmation window, enter the To email address(es) and Subject, enter/edit the email text, then click Send - to email an image of the selected document(s) as an attachment.
Note: Your email message will contain the default text, which you may edit, provided you have email templates set up on your system.
6. If the documents you wish to email/save/print are on more than one page you will have to repeat the selection/email/save/print procedure above for each page containing the required documents.
7. Close the Scan Documents tab when you have finished.
NEXT: Using A Signature Pad