|
Quantum VS Help: Document Scanning |
There are various ways of scanning or attaching documents for archiving against an individual Despatch Note, Picking Note, Purchase Invoice, Goods Received Note or Batch Certificate.
To initiate scanning/attachment:
use the Scan link in the Finder - see Scanning From The Finder.
or: use the Scan option on the Toolbar - Sub Menu when the document is open - see Scanning From An Open Document.
or: click the Scan option in the confirmation window when confirming a GRN, or registering a Purchase Invoice - see Scanning On Document Confirmation.
To initiate document scanning/attachment against a selected record using the Finder:
1. Select the Finder for the document type you will be scanning, then search for the record you wish to store scanned/attached items against.
See:
2. Click the Scan link next to the document in the Scanned column.
In the following example we have received a Purchase Invoice from a supplier. We now wish to scan the invoice so that it is stored against the relevant Purchase Invoice Registration record (1000620).
Therefore we locate the relevant Purchase Invoice Registration record - 1000620 - in the Passed Purchase Invoices Finder (since the full purchase invoicing and matching procedure has been completed). To initiate scanning we click Scan:

Note: If View Image displays in the Scanned column, this means an image has already been stored against this document number. Click the View Image link to view the image, delete it, or perform other tasks such as printing or emailing the image. See Working With Archived Documents.
3. The Scan Documents tab displays. Note that the document type and number are already selected.
You may now scan - or attach - images to be stored against the selected record. See Scanning, Attaching And Archiving For Individual Documents.
To initiate document scanning/attachment against a selected record from an open document:
1. Open the record you wish to scan and archive images against (e.g. an individual Despatch Note, Picking Note, Goods Received Note or Registered Purchase Invoice).
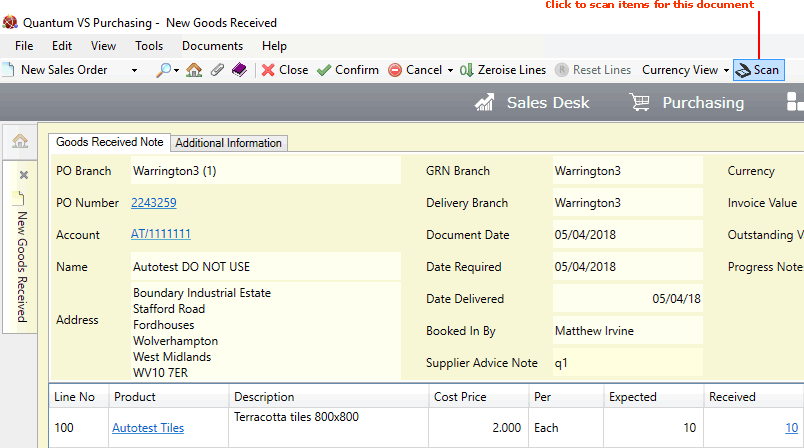
In the following example we have opened a Goods Received Note.
2. Click the Scan option on the Toolbar - Sub Menu:

3. The Scan Documents tab displays. Note that the document type and number are already selected.
You may now scan - or attach - images to be stored against the selected record. See Scanning, Attaching And Archiving For Individual Documents.
To initiate document scanning/attachment against a selected record when confirming a GRN, or registering a Purchase Invoice:
1. Do the following, depending on the document type:
Goods Received Notes: Follow the procedure for creating a Goods Received Note and booking in stock.
Purchase Invoices: Follow the procedure for creating a Purchase Invoice Registration record and registering the Purchase Invoice.
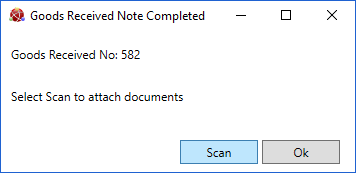
2. When the Confirmation window displays, select the Scan option. For example:

For further details see:
3. The Scan Documents tab displays. Note that the document type and number are already selected.
You may now scan - or attach - images to be stored against the selected record. See Scanning, Attaching And Archiving For Individual Documents.
NEXT: Scanning, Attaching And Archiving For Individual Documents